A beautiful lash set should look intentional from every angle, not like one length was placed across the entire eye. This beginner guide to lash mapping explains how to plan a customized extension set before you pick up your tweezers. For new lash artists, mapping is the bridge between knowing how to isolate and create a result that feels polished, balanced, and made specifically for the client in your chair.
Lash mapping is not about copying the same chart for every eye shape. It is about reading the natural lash line, considering the client’s goals, and choosing safe lengths, curls, and placement that complement their features. With a thoughtful map, your work becomes more consistent, your appointments feel more organized, and your clients leave with lashes that fit their everyday look.
What Is Lash Mapping?
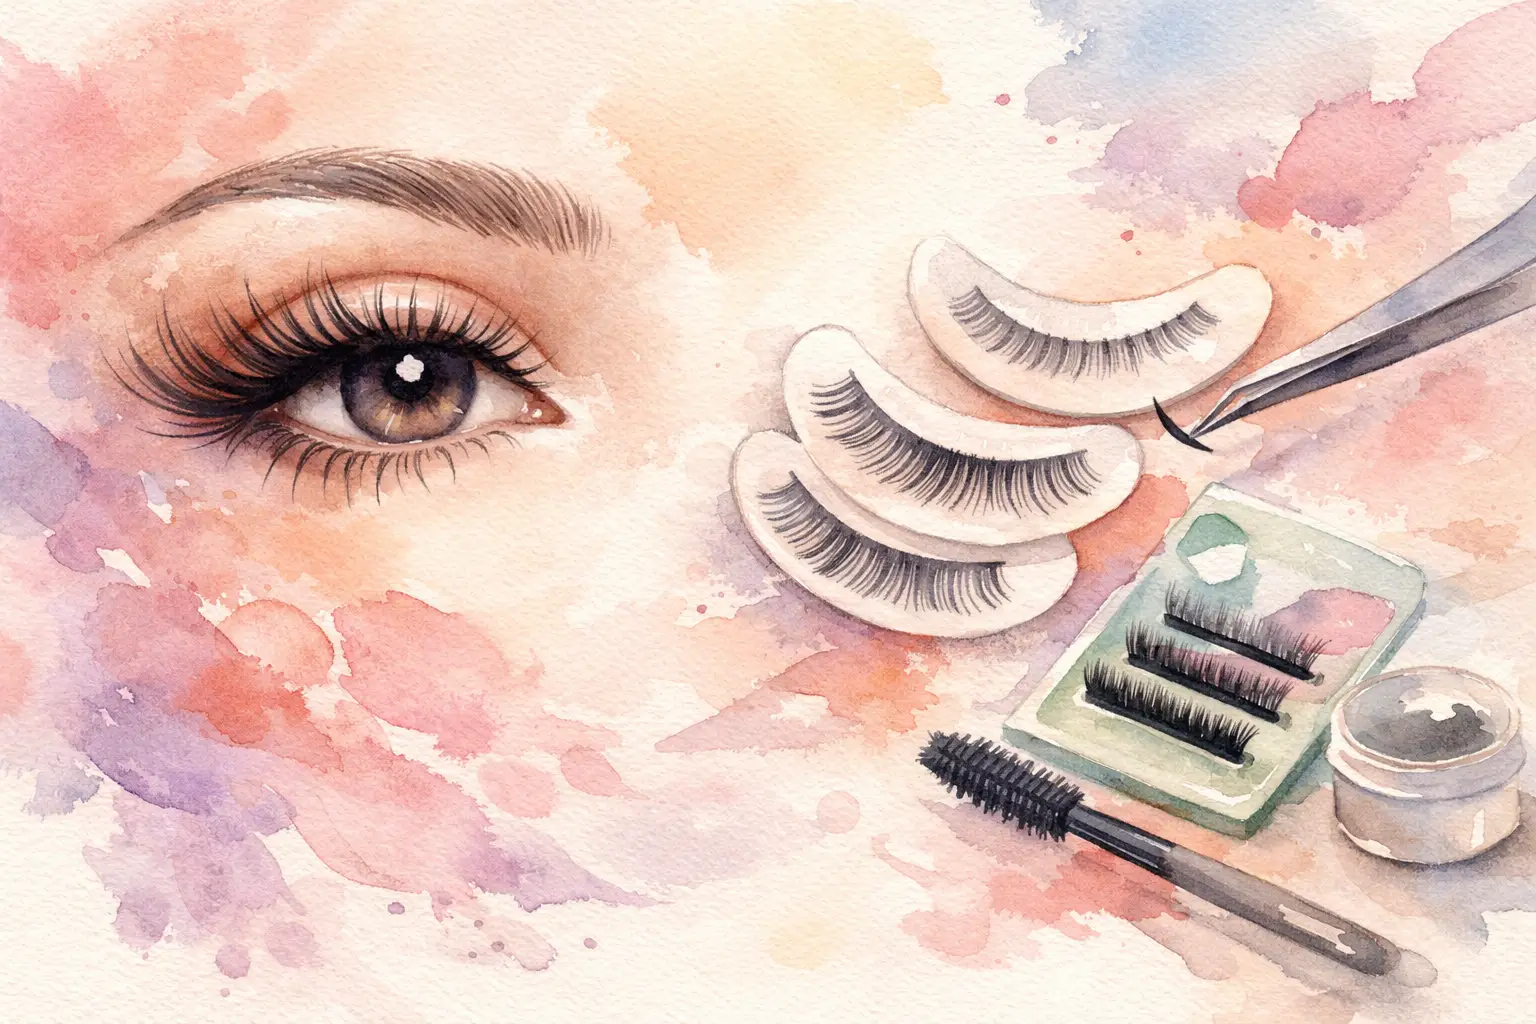
Lash mapping is the written plan for an eyelash extension set. Before beginning application, the lash artist marks sections on the client’s under-eye pads to show where different extension lengths, curls, or styling choices will be placed. These marks guide the set from the inner corner to the outer corner.
A basic map may list lengths such as 8, 9, 10, 11, and 10 millimeters. A more detailed map may also identify where to use a softer curl, a wispy spike, or a narrower handmade fan. The purpose is not to make the application rigid. It is to give you a dependable design while leaving room to adjust for uneven natural lashes, gaps, and eye asymmetry.
For clients, good mapping creates a more flattering result. For artists, it prevents the common beginner habit of making every section too long or allowing the outer corners to become heavy and droopy.
Beginner Guide to Lash Mapping: Start With the Natural Eye
Before choosing a style, assess the client’s natural lashes and eye area. Look at the lash line with their eyes open and relaxed, then again with their eyes closed. Notice whether the outer corners tilt upward, downward, or sit relatively straight. Check for sparse areas, short inner-corner lashes, eyelid space, and any difference between the right and left eye.
The natural lashes determine what can be safely applied. A dramatic map may look appealing on paper, but extension length and weight must be appropriate for the client’s lash health. Fine or short natural lashes need a lighter, more conservative approach than strong, dense lashes. Never choose a length simply because it is part of a trending style.
Client lifestyle matters, too. A busy professional who wants polished, low-maintenance lashes may prefer a soft, natural enhancement. A client preparing for photos, celebrations, or a more glam everyday look may enjoy added texture or fullness. Ask what they usually wear, whether they want their eyes to look more open or more elongated, and how noticeable they want the extensions to be.
Keep Your First Maps Simple
New artists often try to create a complex wispy, strip-lash effect before they can confidently control a clean basic set. Start with a simple progression of lengths in five to seven sections. This gives you enough variation to shape the eye without making the design difficult to follow.
For example, a soft open-eye map might progress from 8 to 9, 10, 11, 10, and 9 millimeters. The longest area sits near the center or just outside the center, which can create the appearance of a brighter, more open eye. A gentle cat-eye map might progress from 8 to 9, 10, 11, and 12 millimeters toward the outer third, then taper slightly at the very edge if the client’s natural lashes allow it.
These are starting points, not universal formulas. The same lengths can look completely different depending on curl, diameter, fan width, natural lash direction, and the client’s facial features.
Choose a Style That Supports the Eye Shape
The best map enhances the eye rather than forcing it into a trend. Understanding a few foundational styling effects will help you make better choices during consultations.
A natural or kitten style gradually increases in length and then softly tapers at the outer corner. It is versatile, wearable, and a strong option for clients who want definition without an overly dramatic shape. This is often one of the safest places for beginners to build consistency.
An open-eye or doll-eye style places the longest lengths around the center of the lash line. It can make eyes appear larger and more awake, especially when a client has a rounder eye shape or wants a bright, lifted effect. However, placing the longest lengths directly in the center is not ideal for everyone. On some eye shapes, it can look too round or emphasize asymmetry.
A cat-eye style gradually builds toward the outer corner to create an elongated effect. It can be stunning, but it requires careful judgment. If a client has downturned outer corners, using the longest and heaviest extensions at the very edge may pull the eye downward. A squirrel or lifted cat-eye variation, where the peak sits before the outermost section, often gives a more flattering lift.
Wispy maps add intentional texture through spikes that extend beyond the base lengths. They are popular, but the spikes still need safe placement and balanced spacing. A wispy set should look airy and deliberate, not uneven because the artist lost track of the map.
Build the Map From Inner Corner to Outer Corner
Once you have selected a style, divide the lash line into sections on clean under-eye pads. Many artists use five, six, or seven sections. Fewer sections are easier to manage early on, while additional sections allow more detailed shaping for advanced sets.
Start conservatively in the inner corners. Natural lashes in this area are usually shorter and finer, so they often need shorter extensions and a softer curl. Applying long, heavy lashes too close to the inner corner can feel uncomfortable, twist during wear, and make the set look harsh.
Move gradually through the middle sections. Sudden jumps in length can create a stair-step appearance, especially in classic sets. A one-millimeter progression is usually easier to blend. In volume and hybrid sets, texture can soften transitions, but the underlying map should still have a clear flow.
At the outer corner, pause before automatically using your longest length. This area may have weak, downward-growing, or sparse natural lashes. Sometimes the most flattering choice is to taper down by one millimeter at the edge or use a lighter fan. That small adjustment can protect retention and keep the finished set lifted.
Curl, Diameter, and Weight Change the Map
Length is only one part of lash mapping. A 12-millimeter extension in a C curl can look very different from a 12-millimeter extension in a D curl. More dramatic curls can create visible lift, but they may not bond well to every natural lash direction. A client with very straight natural lashes may need thoughtful curl selection for a secure attachment and a cohesive finish.
Diameter and fan weight matter even more. Classic extensions need to be matched carefully to the strength of each natural lash. In volume work, a narrow, lightweight fan may be appropriate where a dense, wide fan would be too heavy. Your map should always support lash health, not compete with it.
This is why certified education and hands-on practice matter. Mapping gives your application purpose, but safe isolation, proper attachment, product control, and sanitation are what make that design wearable. At Lash Therapy Indy, quality lash artistry begins with a clean, professional setup and decisions that put client comfort and natural lash integrity first.
Check the Map Before and After Application
Before you begin, show the client the general direction of the style when appropriate. You do not need to overwhelm them with millimeter numbers, but a quick explanation builds trust: “We’ll keep the inner corners soft, create our lift just past the center, and avoid weighing down the outer edge.” It confirms that you heard their goals and gives them realistic expectations.
During application, keep returning to the map rather than relying on memory. Work in a pattern that helps you stay balanced between both eyes. Some artists move back and forth between corresponding sections; others build one layer across each eye before adding density. Either approach can work if you check symmetry often.
When the set is complete, brush through the lashes and view the client with their eyes open, straight ahead, and slightly downward. Look for gaps, abrupt changes in length, tangled extensions, or outer corners that appear heavier than intended. A map is successful when it still looks balanced after the client sits up and begins blinking naturally.
Practice With Intention
Mapping improves through repetition, photos, and honest review. Keep notes on the maps you use, the curls and weights selected, and how the set looked at the end of the appointment. When possible, compare your work at the fill appointment. Retention and grow-out will tell you whether the design was not only pretty, but practical.
Begin with clean, wearable maps and refine them before chasing dramatic effects. Each client gives you another opportunity to train your eye, protect natural lashes, and create a set that feels confidently customized. The goal is never to make every client look the same. It is to help each client leave feeling comfortable, cared for, and beautifully seen.