A classic set can look beautifully soft and natural or noticeably uneven – and the difference often begins before the first extension is placed. Learning how to map classic lashes gives lash artists a clear plan for balancing the eyes, choosing safe lengths, and delivering the polished results clients expect.
Classic lash mapping is not about using one pattern on every client. It is a customized guide based on the client’s eye shape, natural lash line, lash health, desired finish, and facial symmetry. A thoughtful map keeps the set intentional from the inner corner through the outer corner, rather than letting the design develop randomly as you work.
What Classic Lash Mapping Does for Your Set
A lash map is the design blueprint for an extension set. It divides the lash line into sections and assigns a length, curl, or sometimes a styling direction to each section. For classic lashes, where one extension is applied to one natural lash, mapping is especially valuable because every individual placement is visible.
The goal is not simply to make lashes longer. A well-designed classic map can open a small-looking eye, soften a downturned outer corner, create a subtle lifted effect, or make uneven eyes appear more balanced. It also protects the natural lashes by preventing the temptation to use long, heavy extensions where they do not belong.
At Lash Therapy Indy, customized design starts with the client’s natural lashes and comfort. A premium set should feel lightweight, look clean, and grow out gracefully between fills.
Start With a Thorough Lash and Eye Assessment
Before drawing any lines on the eye pad, take a close look at both eyes. Ask the client what they normally wear, whether they prefer a mascara-like enhancement or a more noticeable look, and whether there is anything they would like to balance. The client may say they want a cat-eye set, for example, but a true cat-eye map may pull their outer corners downward. Your professional recommendation should always guide the final design.
Assess the natural lash line for density, direction, strength, and gaps. Notice where the client has the longest and strongest natural lashes. These areas can often support the visual peak of the map. Sparse inner corners, weak baby lashes, or naturally downward-growing outer lashes may need shorter lengths and a carefully chosen curl.
Also look at the eyes together, not one at a time. Most faces have some natural asymmetry. If one eye sits slightly higher, opens more widely, or has a different lid shape, matching the exact same map on both eyes may make the difference more obvious. Customized mapping means adjusting with purpose, not forcing symmetry where the face does not naturally have it.
How to Map Classic Lashes Step by Step
Prepare the eye area and establish the baseline
Begin with clean, makeup-free lashes and properly placed under-eye pads or tape. The pads should sit securely without touching the waterline or covering lower lashes. Client comfort and sanitation are part of the service, not an afterthought.
Use the lower lash pad as your workspace. Mark the inner corner, center point, and outer corner. Then divide the lash line into four to six sections, depending on the client’s eye size and the level of detail you need. Smaller eyes generally need fewer, clearer sections. Larger eyes can support a more gradual progression of lengths.
Choose a conservative baseline length based on the natural lashes. A classic set should enhance the natural lash line without overloading it. Many artists work within a modest length increase, but the safe choice always depends on the diameter, curl, and strength of the individual natural lash.
Choose where the longest length belongs
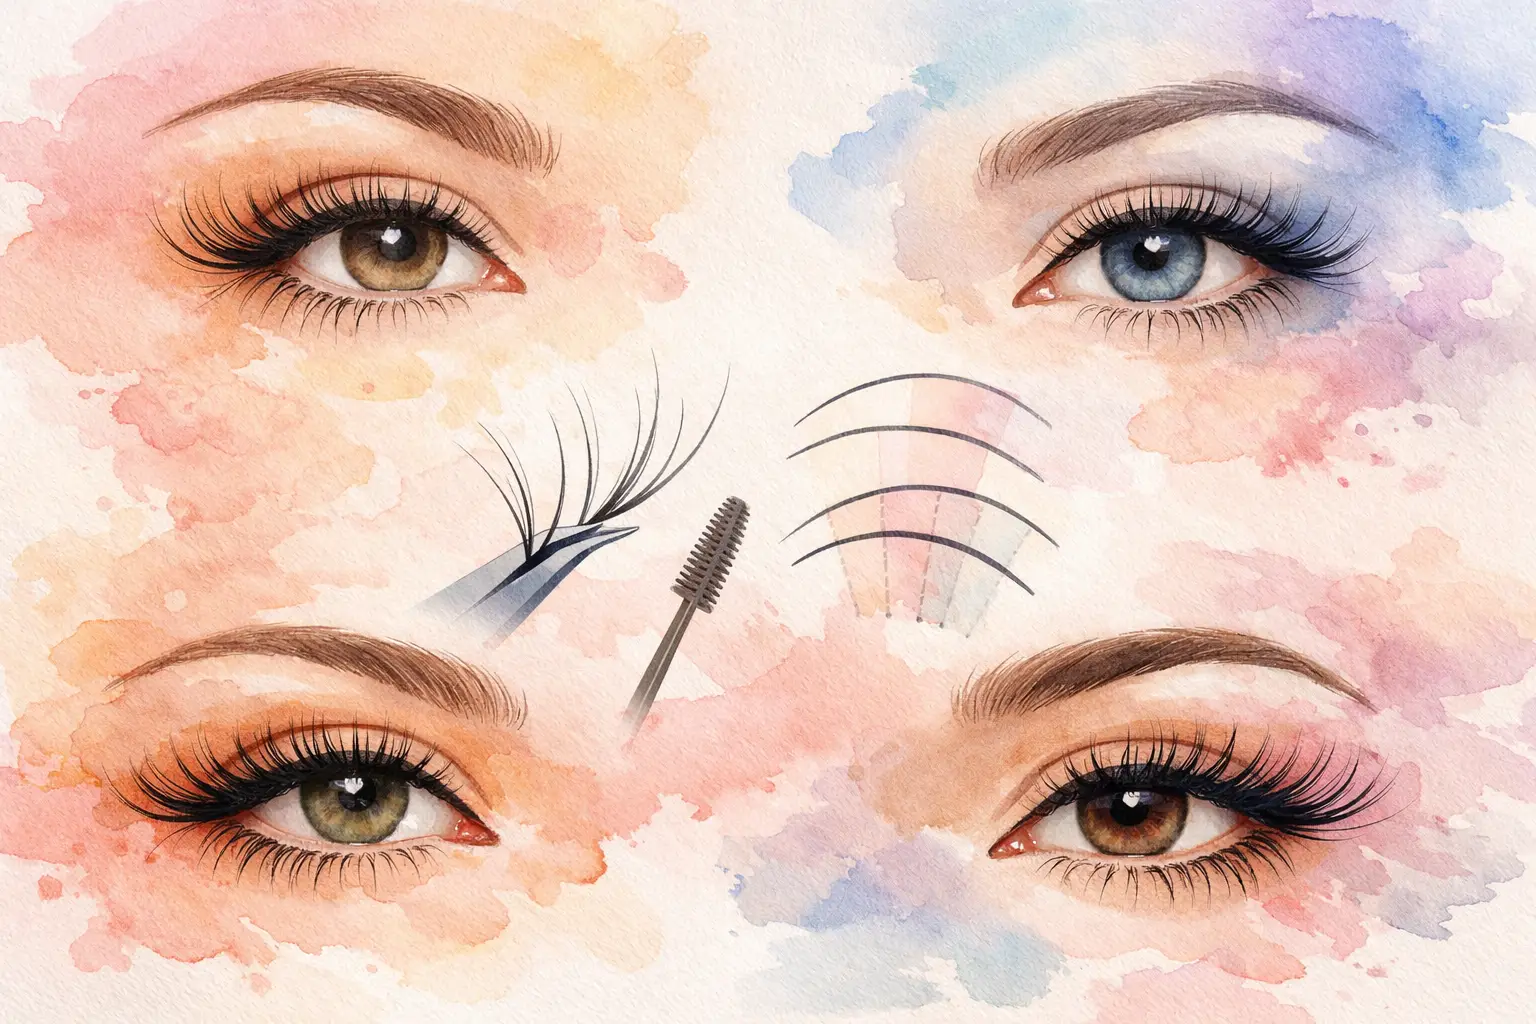
The placement of the longest extension determines the overall effect. For an open-eye or doll-eye style, the longest lengths sit around the center of the eye or slightly beyond it. This can make the eyes appear brighter and more open.
For a squirrel or soft lifted style, the peak moves farther out, usually around the outer third of the eye before tapering down at the very edge. This is often a more flattering choice for clients with downturned eyes because it creates lift without dragging the eye outward.
A cat-eye map places the longest lengths toward the outer corner. It can look striking on almond eyes with naturally lifted outer corners, but it is not a universal design. On hooded, round, or downturned eyes, a dramatic outer-corner peak can create a droopy appearance. When in doubt, choose a soft lift over an extreme cat-eye.
Build your length progression gradually
Once you know the placement of the peak, fill in the sections with a gradual progression. A common classic map might move from shorter inner-corner lengths to medium lengths through the center, reach the longest point near the design peak, and then taper slightly at the outer edge.
Avoid large jumps in length. A sudden change can create visible shelves or spikes that make a classic set look disconnected. In most cases, moving up or down in small increments produces a smoother lash line and a more expensive-looking finish.
Inner corners deserve extra care. Natural lashes in this area are often fine, short, and angled differently from the rest of the lash line. Keep extensions short enough to sit comfortably and blend naturally. A long inner corner can feel heavy, twist as it grows out, and distract from an otherwise beautiful set.
Match curl to the client’s natural lashes and lid space
Length alone does not create the final effect. Curl changes the way the map reads on the eye. A softer curl can offer a natural, mascara-like look, while a stronger curl can create more visible lift and brightness.
For clients with straight natural lashes or a hooded lid, a stronger curl may help the extensions remain visible. However, more curl is not automatically better. If the curl is too dramatic for the client’s natural lash direction, the extension may not have enough bonding surface for a secure, long-lasting attachment.
Choose the curl that creates a flattering result while allowing safe isolation and proper attachment. A clean bond, appropriate diameter, and healthy natural lash always matter more than chasing a dramatic style.
Classic Lash Maps for Common Eye Shapes
Almond eyes
Almond eyes are versatile and can wear open-eye, squirrel, or cat-eye-inspired designs well. A soft cat-eye is often beautiful when the outer corners naturally lift. Keep the outermost section slightly shorter than the peak so the design stays refined instead of looking pulled out.
Round eyes
Round eyes often benefit from a map that elongates rather than adding more height through the center. A squirrel map, with its peak just past the center and a gentle taper at the outer corner, can create a balanced, elegant effect. Avoid placing the longest length directly in the center if the client wants the eye to appear less round.
Hooded eyes
Hooded eyes can hide extensions beneath the lid when the eye is open. A lifted map with an appropriate curl helps bring the lash line forward visually. Keep the outer corner controlled, since excessive length there can disappear into the lid or create a heavy effect.
Downturned eyes
For downturned eyes, the goal is visual lift. Place the longest lengths before the outer edge, then taper down at the final section. This prevents the classic set from emphasizing the downward angle. A soft squirrel map is frequently more flattering than a traditional cat-eye.
Close-set or wide-set eyes
For close-set eyes, avoid placing extra emphasis at the inner corners. Keep them short and shift the visual focus slightly outward. For wide-set eyes, a slightly more open-eye design can bring attention toward the center, but still preserve a smooth, natural progression.
Do Not Let the Map Override Lash Health
Mapping is a design tool, not permission to apply the same length to every natural lash in a section. Within any mapped area, you will still find lashes that are too short, too fine, or too young to safely support the planned extension. Adjust in real time.
A beautiful classic set requires proper isolation, a light and secure adhesive bond, suitable extension weight, and clean direction. If an extension is too long or heavy, it can twist, droop, cause discomfort, or place unnecessary stress on the natural lash. Clients notice the difference between lashes that look good for one day and lashes that remain comfortable and polished through their fill cycle.
Check your work from the front throughout the appointment. Step back, ask the client to open their eyes when appropriate, and look for uneven peaks, gaps, crossing extensions, or an outer corner that needs softening. Mapping gives you structure, but visual balance is the final test.
Practice Maps Before You Work on a Client
The fastest way to build confidence is to practice mapping on under-eye pads, mannequin heads, and model sets. Draw multiple versions of an open-eye, squirrel, and cat-eye design. Then study how each map changes when you move the longest length only one section forward or back.
Take clear before-and-after photos of your work and review them closely. Look beyond the overall length. Is the design centered? Do both eyes appear balanced? Are the inner and outer corners clean? Are the extensions following the intended direction? These details are what turn foundational technique into consistent artistry.
A classic lash map should make the application feel more focused, not more restrictive. Start with a thoughtful plan, stay responsive to the natural lashes in front of you, and let healthy, comfortable wear guide every styling choice. That is how clients leave feeling polished, confident, and ready to book their next fill.