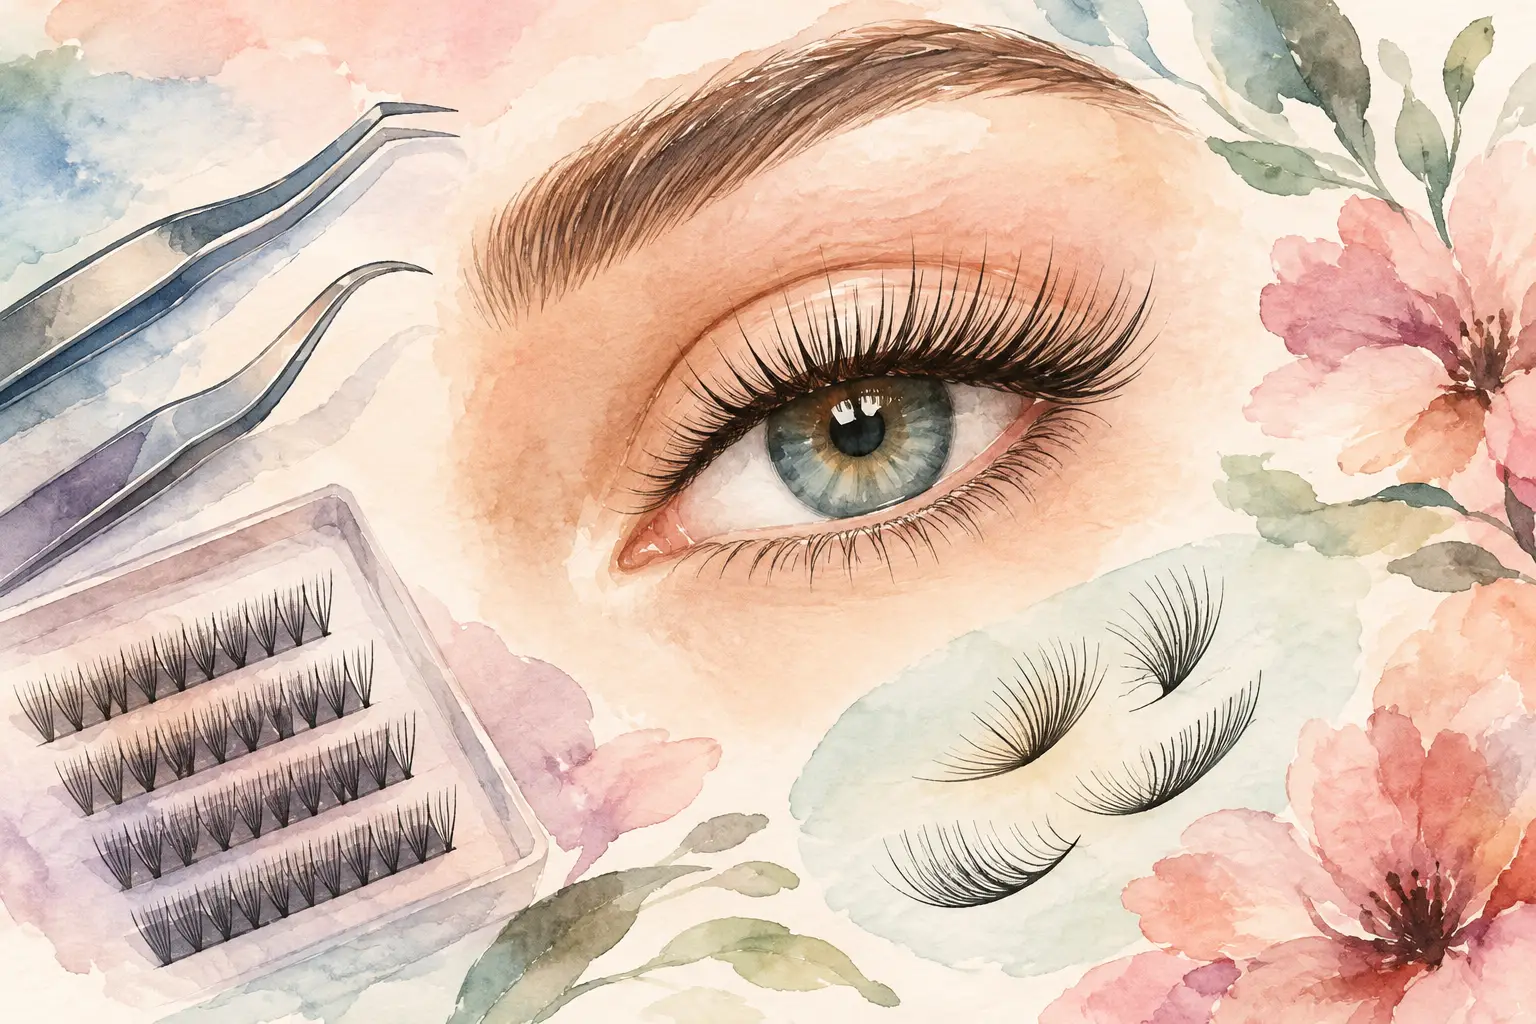
Fresh extensions can look perfect when you leave the studio, but the way you apply lash bonder correctly can make a real difference in how polished they look and how comfortable they feel afterward. A quality bonder can reduce adhesive fumes, support curing, and help the lash line feel less tacky. It is not, however, a substitute for proper isolation, clean application, or the right adhesive technique.
For lash clients, this is usually a professional finishing step. For lash artists, it is one of those small details that protects the quality of your work and reinforces client trust. Here is how to use lash bonder with care, precision, and realistic expectations.
What Lash Bonder Does After an Extension Service
Lash bonder is a liquid finishing product designed to cure or stabilize lash extension adhesive from the outside. Depending on the formula, it may help reduce lingering fumes, improve flexibility at the adhesive bond, and speed up the curing process. This can be especially helpful for clients with sensitive eyes or busy schedules who want to feel comfortable leaving their appointment with a clean, finished set.
Bonder is often confused with a sealant, but the products can serve different purposes. A sealant is typically used to coat or protect the lash line and may be part of at-home maintenance. A professional bonder is generally used at the end of an extension appointment to work with the adhesive. Always read the product directions because formulas, dry times, and application methods vary.
The biggest misconception is that bonder will rescue poor retention. It will not. Retention starts with a thorough cleanse, correct lash preparation, humidity-aware adhesive use, proper isolation, and a secure attachment. Bonder supports good application work. It cannot fix extensions attached to baby lashes, sticky bases, makeup buildup, or poor aftercare.
How to Apply Lash Bonder Correctly
The best time to apply bonder is after you have completed the set, checked for stickies, and allowed the adhesive to begin setting according to its instructions. Do not rush straight to bonder while you are still actively placing lashes. Your final quality check comes first.
Start with a clean, checked lash line
Before reaching for the bonder, inspect the set carefully. Separate through the extensions to check for lashes that are stuck together, exposed adhesive, or attachments that need correction. The client should remain comfortably reclined with their eyes fully closed.
This step matters because a bonder can make the adhesive cure more quickly. If there is a sticky or improper attachment present, curing it before you correct it creates more work and can compromise comfort. Sanitation and detailed isolation are never steps to skip for speed.
Use less product than you think
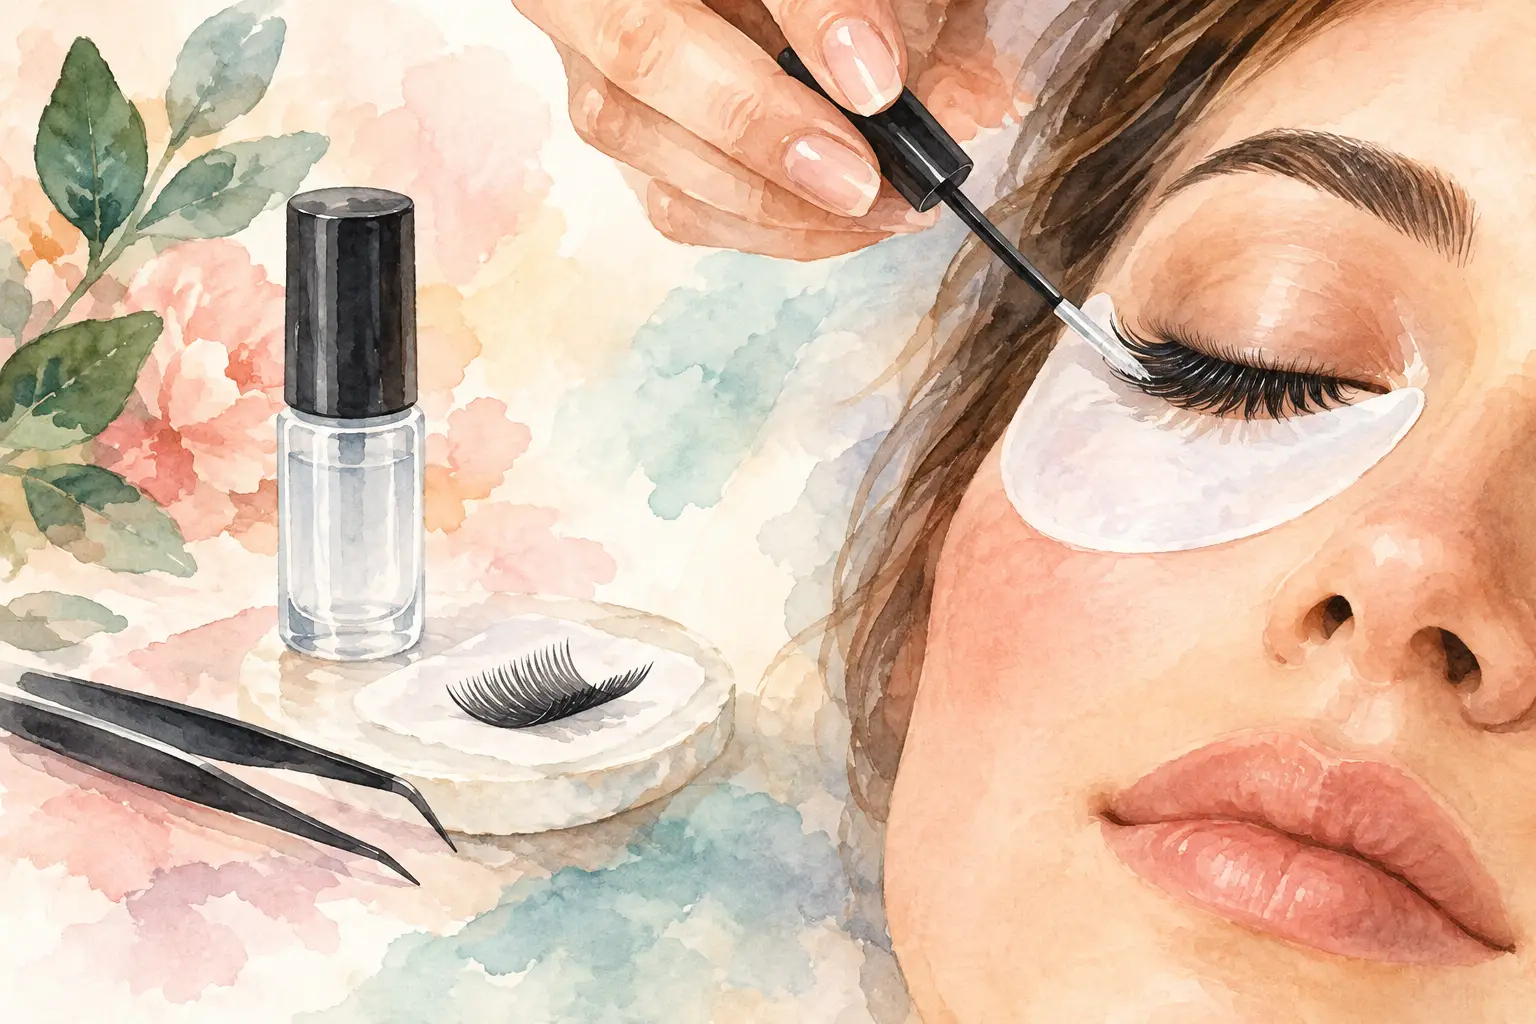
Dispense a very small amount of bonder onto a clean, disposable applicator, micro swab, or the tool recommended by the manufacturer. The applicator should be lightly coated, not dripping. Too much product can travel into the eye area, create a wet lash line, or leave residue around the extensions.
Gently touch the bonder to the adhesive attachment areas near the base of the extensions. The goal is to apply it to the bond, not to saturate the natural lashes or brush product through the entire extension length. Work in controlled sections across both eyes, using a light hand.
Keep product away from the waterline, eyelid skin, and eye pads. If your client opens her eyes or feels sudden stinging, stop immediately and assess the situation. A professional result should never come at the cost of client comfort.
Allow the bonder to work before moving on
Give the product the amount of time specified by the brand. Some bonders work quickly, while others need a brief moment before the lashes are fanned or brushed. Do not assume every formula performs the same way.
Once the recommended cure time has passed, gently fan the lashes and brush them with a clean spoolie if appropriate. Look again for direction, symmetry, and clean separation. The lashes should move softly and look intentional, whether the client chose a natural classic set or a fuller volume look.
Finish with aftercare that matches the adhesive system
Your adhesive and bonder instructions should guide your aftercare advice. Some modern adhesive systems are designed to tolerate water much sooner than traditional formulas, while others still require a longer dry period. Give clients instructions based on the exact products used, not outdated blanket rules.
Clients should still avoid steam, heavy sweating, oil-based eye products, and rubbing their eyes as much as possible. Clean lashes consistently with a lash-safe cleanser, then dry them gently and brush them into place. Clean extensions are more comfortable, photograph better, and are easier to refill.
Common Mistakes That Affect Results
Using bonder too heavily is one of the most common errors. More product does not mean stronger retention. Oversaturation can affect the finished appearance, increase the chance of product migration, and leave the lash line feeling uncomfortable.
Applying bonder before checking for stickies is another avoidable mistake. The final separation check should happen before the bond is fully cured. Lash artists should also avoid applying any product to a client who is having an active allergic reaction, significant redness, swelling, or ongoing irritation. Bonder is not a treatment for sensitivity or an eye-area concern. When in doubt, remove the extensions safely and advise the client to seek medical guidance.
Finally, do not mix products casually. Adhesives, primers, bonder formulas, and sealants are chemical products with specific intended uses. Test new professional products during training or on a controlled basis, follow the manufacturer directions, and store them properly. A premium service is built on consistency, not guesswork.
Should Clients Apply Lash Bonder at Home?
Usually, no. Most clients do not need to apply a professional lash bonder between appointments. If a product is specifically sold as an at-home lash sealant or bonder, use only that product and follow its directions exactly. Never apply salon-grade products near your eyes without clear instructions and a clean application method.
If your extensions feel scratchy, are twisting, or are shedding more than expected, adding extra product is rarely the answer. Contact your lash artist. A trained professional can determine whether the issue is normal shedding, aftercare buildup, an attachment concern, or a need for a refill.
For strip lashes or DIY cluster lashes, the word “bonder” may refer to a completely different product. Those systems often use a bond-and-seal process that is not interchangeable with professional extension bonder. Keep the products and techniques separate to protect your natural lashes.
Why Professional Technique Still Matters Most
A great set should look beautiful from every angle, feel lightweight, and respect the health of the natural lashes underneath. That standard comes from education, sanitation, lash mapping, adhesive control, and the ability to customize each appointment. Bonder is simply one finishing tool in a much larger professional process.
At Lash Therapy Indy, we believe clients deserve both polished results and clear guidance on how to care for them. Whether you are booking extensions or building your skills as a lash artist, choose quality products, clean practices, and training that puts lash health first.
The best finishing touch is confidence: confidence that each extension is safely applied, the lash line is clean, and every product used has a clear purpose.