A beautiful lash set starts long before the first extension is placed. Knowing how to disinfect lash tools correctly protects your clients, supports a polished professional reputation, and creates the clean, comfortable experience every lash appointment deserves. For lash artists, sanitation is not an optional extra. It is part of the service.
Whether you are working from a studio suite, salon, or home-based setup permitted by your state, your tool routine should be consistent from one client to the next. The goal is simple: use clean, properly disinfected reusable tools and fresh disposable supplies for every appointment.
Clean, Disinfect, and Sterilize Are Not the Same
These terms are often used interchangeably, but they mean different things. Cleaning removes visible residue, adhesive buildup, oils, and debris from a surface. Disinfecting uses an approved product to destroy many harmful germs on hard, nonporous surfaces. Sterilization is a higher-level process designed to destroy all microbial life, including spores.
For most lash services, reusable implements such as tweezers need to be cleaned first and then disinfected according to your state board rules and the disinfectant manufacturer’s directions. Sterilization may be required in certain professional settings or for specific tools and services, so always follow Indiana regulations and your licensing requirements.
The key takeaway is this: a tool that looks clean is not necessarily disinfected. Skipping the cleaning step can also make disinfectant less effective, especially if adhesive residue or makeup is left behind.
What Lash Tools Should Be Disinfected?
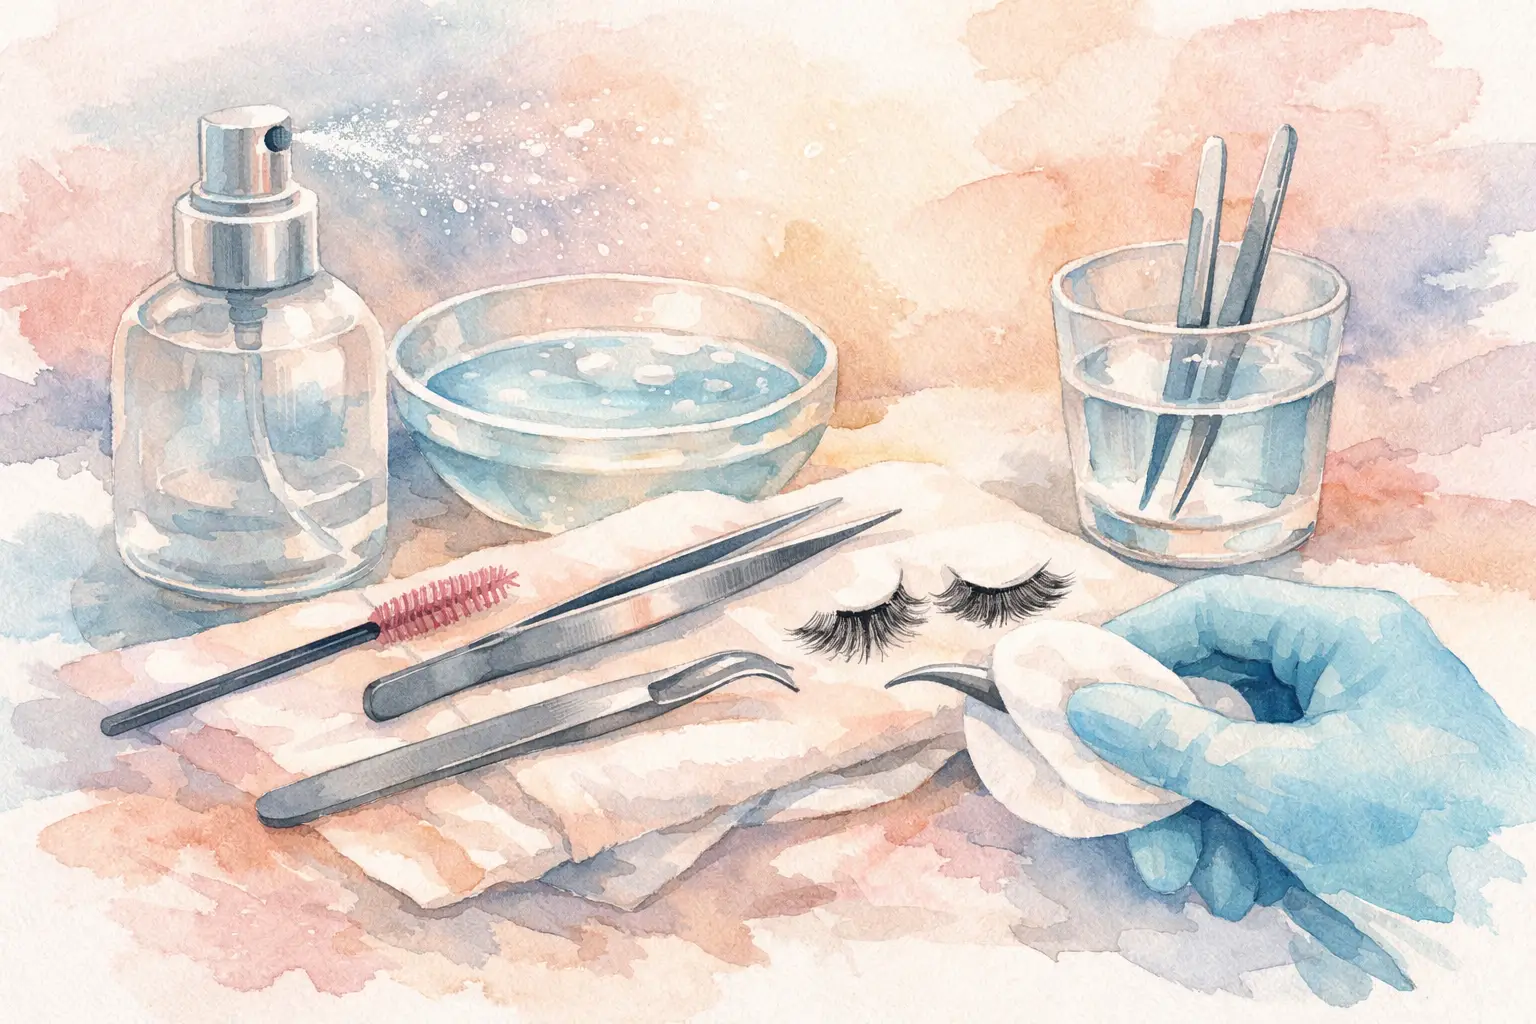
Any reusable, hard, nonporous tool that comes into contact with your hands, work surface, or the client service area should be cleaned and disinfected between clients. This typically includes isolation tweezers, volume tweezers, lash scissors if used, metal mixing tools, and reusable trays or holders that can be safely disinfected.
Not every supply is meant to be disinfected and reused. Disposable items should be discarded after each client. This includes under-eye gel pads, lip applicators, mascara wands, micro swabs, spoolies, glue rings, tape pieces, lint-free applicators, and disposable glue palettes. Reusing single-use items is never worth the risk to client safety or your business reputation.
Lash strips and lash tiles require careful handling. If a lash tile is made from a smooth, nonporous material, it may be disinfected according to the product directions after the lash strips are removed. Individual lash strips that have been exposed during service should not be transferred back into a clean product container.
How to Disinfect Lash Tools Step by Step
A reliable sanitation process is easiest when your station is organized into clear zones: clean, used, and disinfected. Never place used tweezers beside tools that are ready for the next client.
1. Remove product buildup right away
After the appointment, carefully remove lash adhesive, residue, and debris from tweezers before it hardens. A tool-cleaning product designed for lash adhesive can make this step easier, but use it only as directed and keep it away from the tweezer tips when appropriate.
Do not scrape tweezers aggressively with metal objects. Damaged tips can affect isolation, lash pickup, and the precision needed for a premium set. If tweezers no longer align properly, replace them instead of trying to force them back into service.
2. Wash with soap and water
Next, wash reusable implements with soap and water to remove remaining residue. Use a small brush reserved for tool cleaning if needed, paying attention to the inside edge and tips of the tweezers. Rinse thoroughly.
This step matters because disinfectant should be applied to a visibly clean surface. Adhesive, oils, and dust can create a barrier that prevents proper disinfection.
3. Dry tools before disinfecting
Pat tools dry with a clean, lint-free towel or allow them to air-dry in a protected area. Water can dilute some disinfectant solutions, so tools should not be dripping wet when they go into your disinfecting container unless the product instructions specifically say otherwise.
Inspect each tool as you dry it. This is a smart time to check for bent tips, loose tension, corrosion, or leftover adhesive. High-quality artistry depends on high-quality tools.
4. Use an approved disinfectant correctly
Choose a professional-grade disinfectant that is appropriate for nonporous salon implements and accepted by your state board. Read the full label before use. The label tells you whether the product is ready to use or needs dilution, which surfaces it can be used on, and how long it must remain in contact with the tool.
For immersion disinfection, place fully cleaned tools into a covered container with enough solution to completely submerge them. Do not overcrowd the container. Each tool needs full contact with the disinfectant.
If your product is intended for spray or wipe use, make sure the entire tool surface remains visibly wet for the stated contact time. A quick spray and immediate wipe does not count as proper disinfection unless the label specifically instructs it.
5. Respect the contact time
Contact time is one of the most commonly missed parts of lash sanitation. Every disinfectant has a required amount of time it must stay wet or keep tools submerged to work effectively. Depending on the product, that may be a few minutes or longer.
Set a timer instead of guessing. This creates a repeatable system, especially on busy days when back-to-back clients can make it tempting to rush. Keep enough duplicate tweezer sets on hand so you are never forced to cut corners while waiting for tools to finish disinfecting.
6. Rinse only if the label requires it
Some disinfectants require rinsing after the full contact time, especially when tools may touch the skin area. Others do not. Follow the manufacturer instructions exactly rather than relying on a routine you learned from another artist.
After rinsing, dry tools thoroughly with a clean, lint-free towel or allow them to air-dry. Do not store damp metal tweezers, as moisture can contribute to corrosion over time.
7. Store disinfected tools safely
Once dry, place disinfected tools in a clean, covered container or sealed pouch labeled for disinfected implements. Keep them separate from used tools and away from open work areas where they could be contaminated again.
A covered storage system also makes your station feel more professional to clients. They may not know every detail of your sanitation protocol, but they notice when tools are organized, fresh supplies are opened in front of them, and their artist treats cleanliness with care.
Lash Station Disinfection Matters Too
Your tweezers are only one part of the sanitation picture. Between clients, disinfect all hard, nonporous surfaces that may have been touched during the service. This can include your lash bed, pillow cover surface if nonporous, lamp handles, product trays, lash tile, stool, countertop, drawer pulls, and any device used during the appointment.
Soft or porous materials require a different approach. Fabric blankets, towels, and pillowcases should be laundered between clients. Disposable bed covers should be replaced. Foam, wood, paper, and other porous items cannot always be properly disinfected, so choose washable or disposable options whenever possible.
Keep adhesive bottles clean by wiping the exterior, including the nozzle area, with an appropriate product that will not compromise the adhesive. Never immerse a glue bottle in disinfectant. Replace disposable nozzles or use clean, single-use methods where applicable.
Common Mistakes That Put Sanitation at Risk
The most common mistake is treating disinfectant as a quick wipe-down rather than a process with a required contact time. Another is placing cleaned tools back onto a station that has not been disinfected. Even properly disinfected tweezers can become contaminated again if they are set down on a used surface.
Artists also run into trouble when they mix disinfectant too weakly, reuse an old solution beyond its stated life, or fail to cover immersion containers. Always prepare and replace solutions according to the label. Label your container with the product name, dilution information if applicable, and the date it was prepared.
Finally, do not use household shortcuts in place of salon-grade procedures. Alcohol may be useful for certain tasks when appropriate, but it is not automatically a substitute for the full disinfection process required for professional implements. When in doubt, follow your state board rules and the product label.
Build a Sanitation Routine You Can Repeat
The best sanitation routine is one you can follow even during your busiest week. Start each day with a disinfected station and enough prepared tools for your booked clients. During each appointment, keep disposable supplies single-use and prevent clean and used items from crossing paths. After the appointment, move used implements straight into the cleaning and disinfection process.
At Lash Therapy Indy, we believe premium lash artistry and client comfort go hand in hand with professional cleanliness. For aspiring artists, sanitation should be practiced with the same focus as isolation, styling, retention, and safe application.
Clients trust you with an area as sensitive as their eyes. Give them every reason to relax in your chair by making clean tools, fresh supplies, and a well-maintained station part of every single appointment.